Legacy single-dashboard embedding
This section documents per-dashboard embed links, the way embedding worked before the new embed payload. Embed links you have already created keep working, and these pages stay here so you can maintain them.
Setting up something new? Start with the Quickstart instead. Moving an existing link? Follow the migration guide. One set of embed credentials covers every dashboard, and the same payload also unlocks exploration, user-built dashboards, Ask AI, and email subscriptions.
Introduction
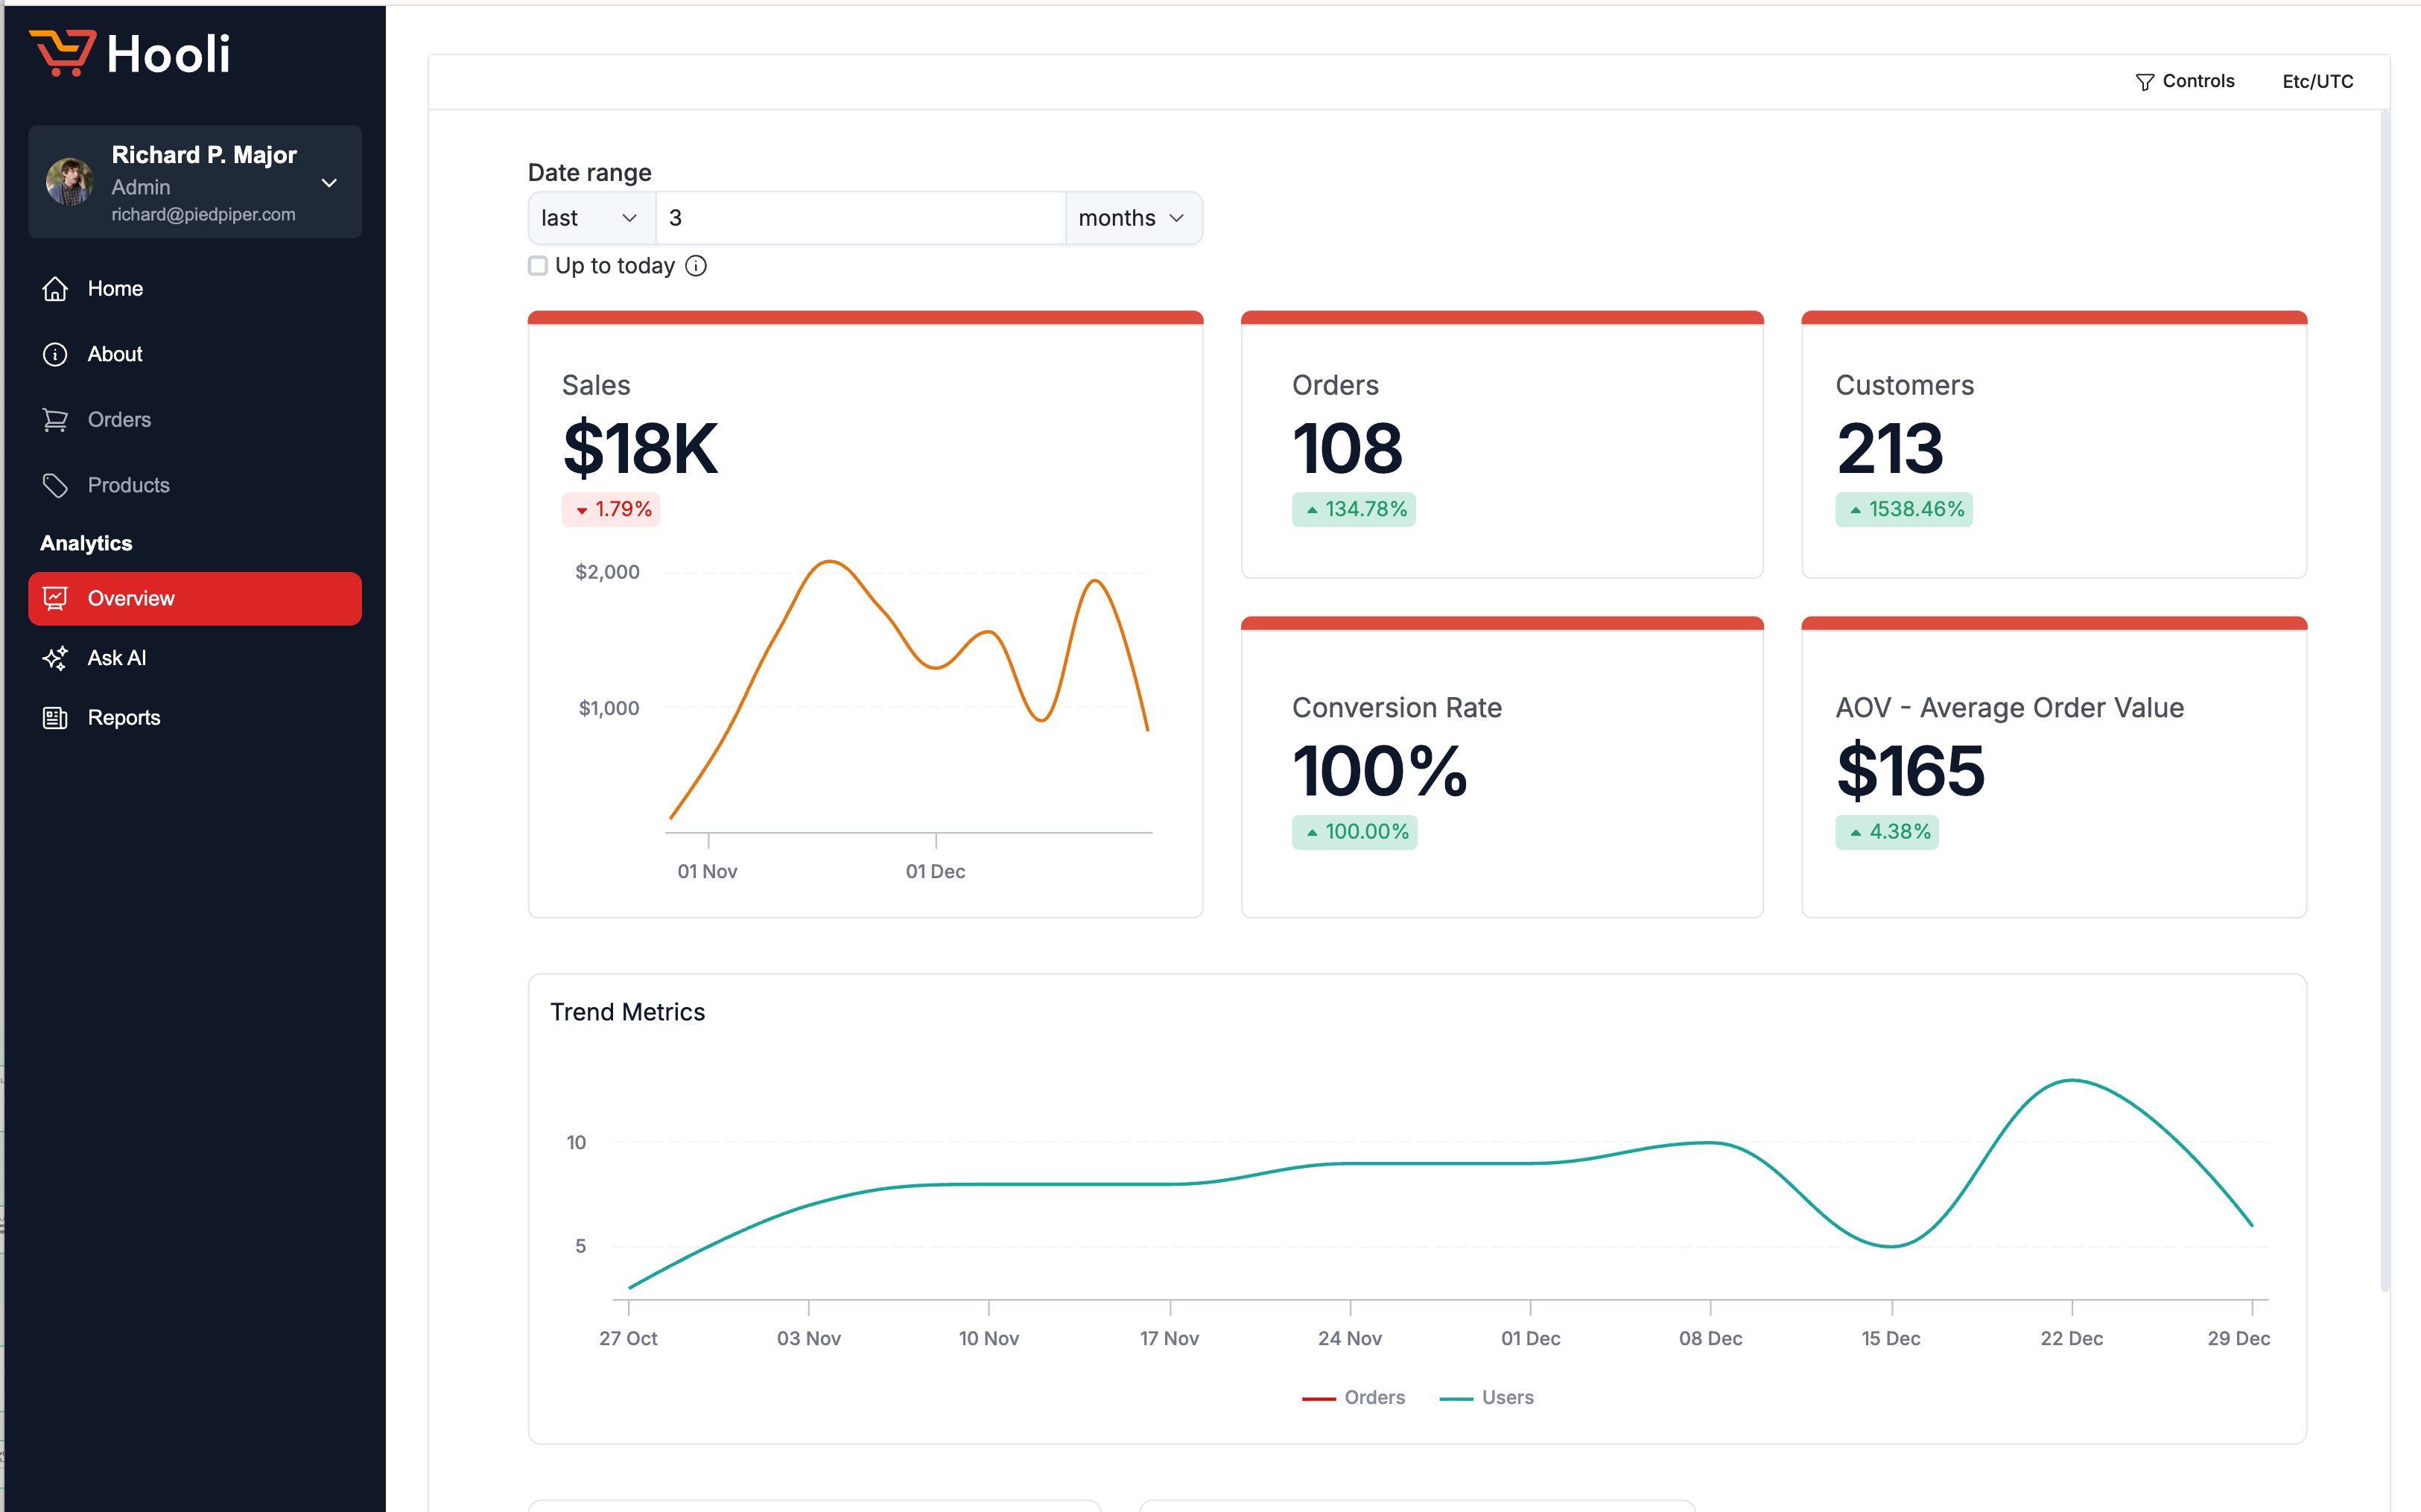
Single-dashboard embedding puts one Holistics dashboard inside your web application through an iframe. Your users see the dashboard in your app with no separate login, and row-level permissions control what data each viewer gets.
Each dashboard carries its own embed code and its own secret key. That is the main difference from the new embed payload, where one credential signs every embed and the payload names the dashboards to show.
How it works
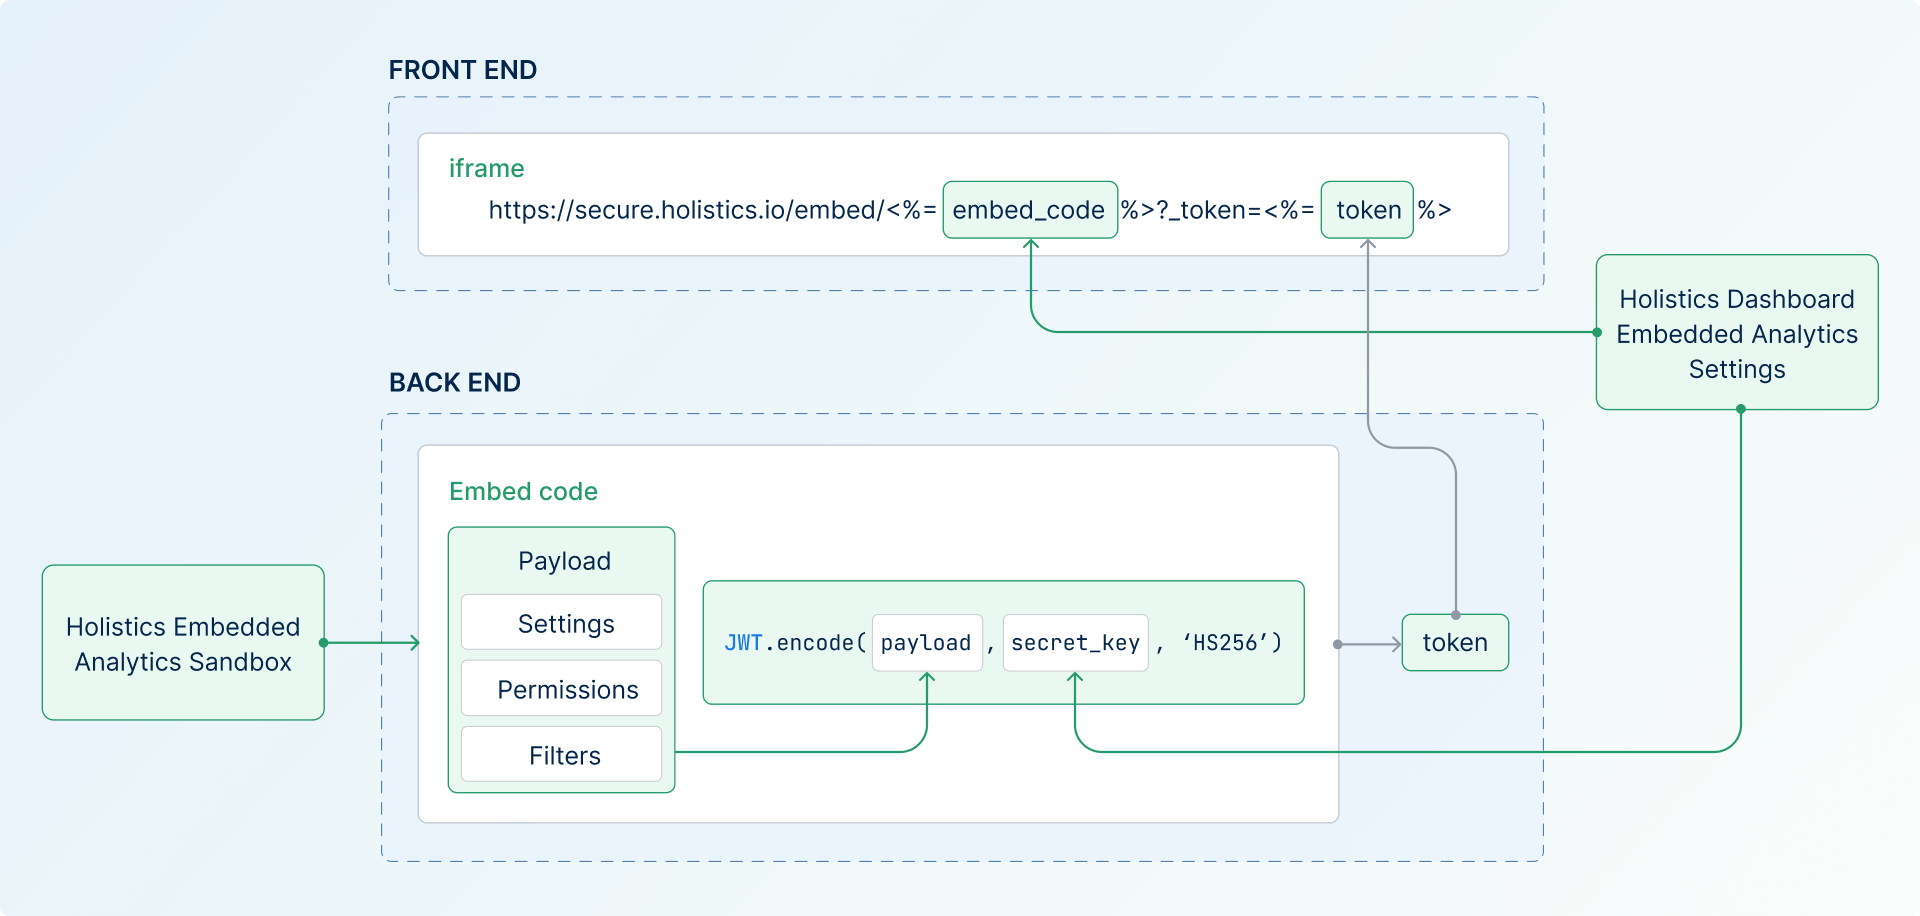
On the frontend, the dashboard loads in an iframe. The iframe URL carries two pieces of information: an embed_code that identifies the dashboard, and a time-sensitive token that controls what the viewer can see.
On the backend, your server generates the token using the dashboard's secret key. The token is a JWT that encodes dashboard settings, filter defaults, and row-level permissions for the current user.
Set up a legacy embed link
Embedded Analytics has to be on before any of this works. Go to Tools → Embedded Analytics and enable it, then follow the three steps below.
Step 1: Generate an embed link
- Open the dashboard you want to embed
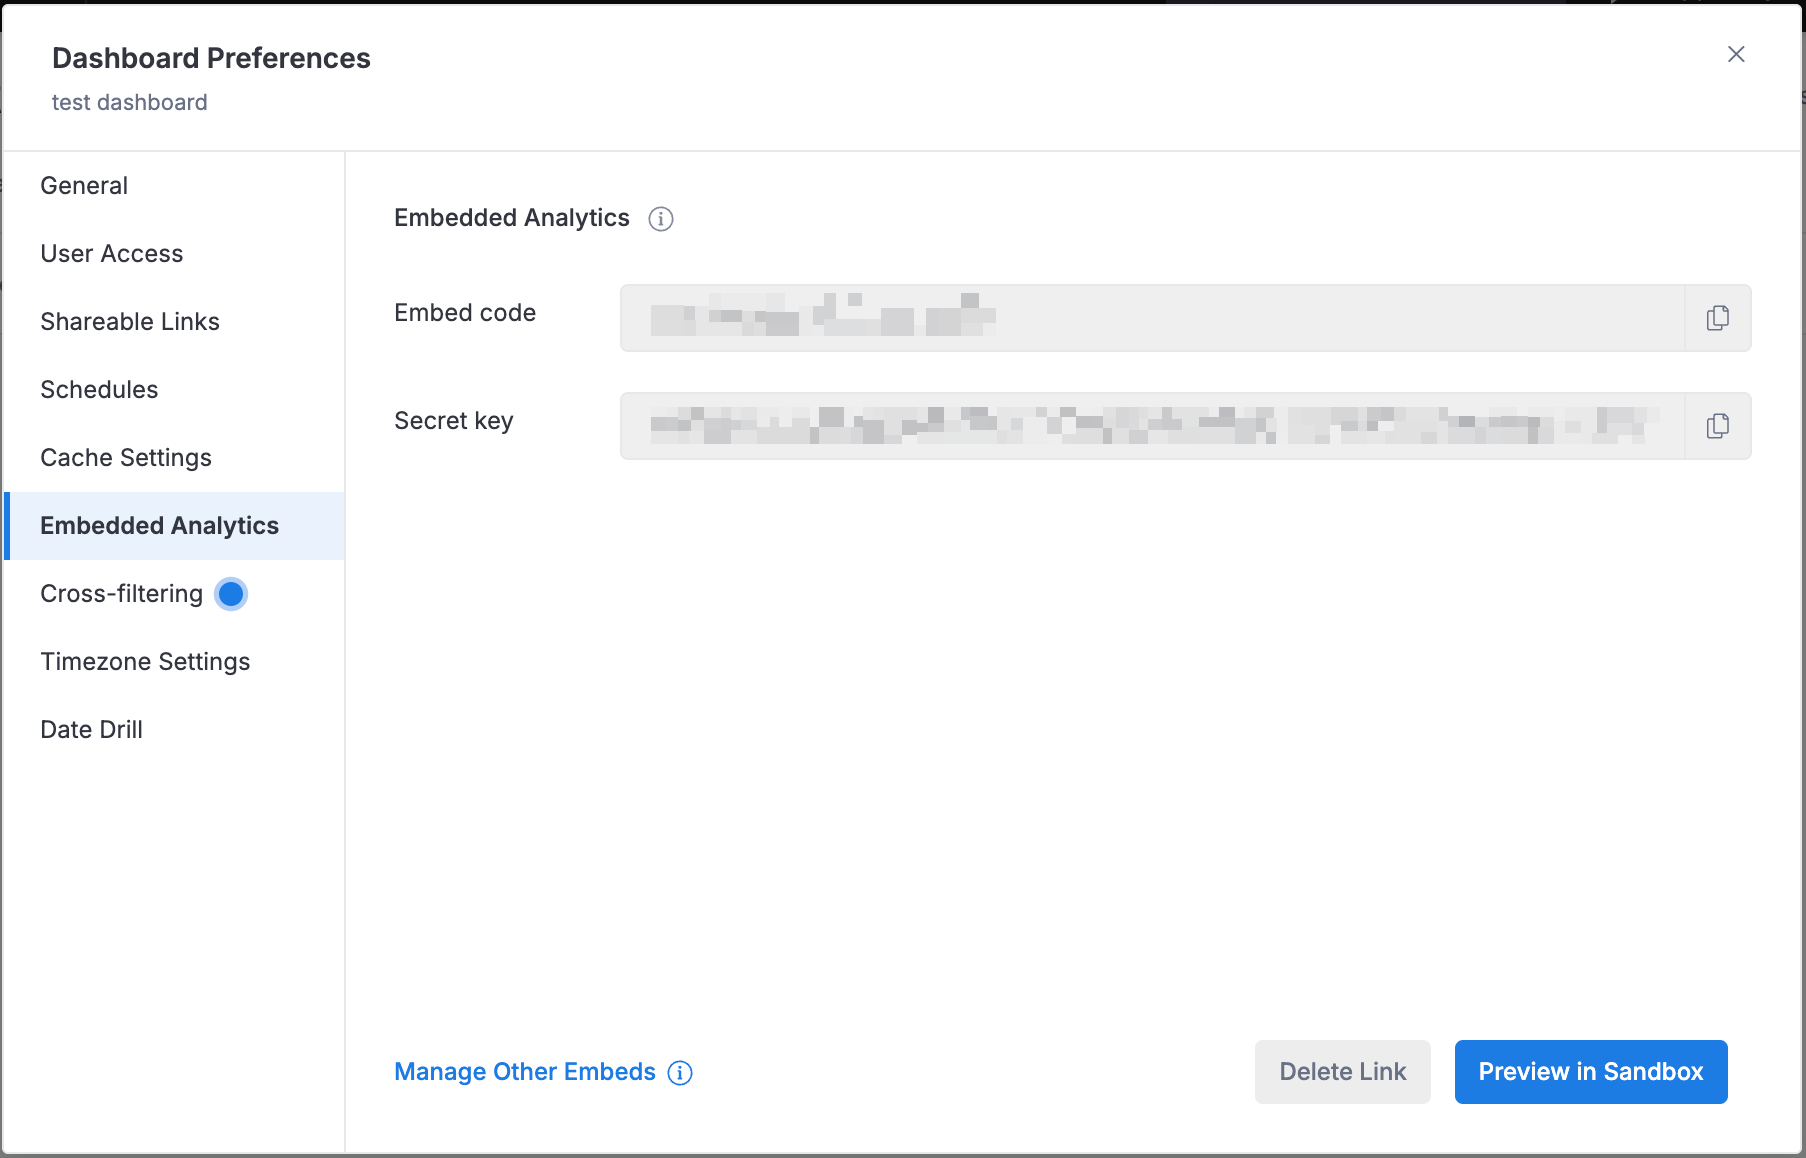
- Go to Settings → Dashboard Preferences → Embedded Analytics
- Click Generate Embed Link
You get two values:
- Embed Code: identifies which dashboard to show
- Secret Key: signs the embed token, so keep it on your backend
Step 2: Generate a token (backend)
On your server, build a JWT payload and sign it with the secret key. The example below is minimal: no permissions and no filters, just enough to get the dashboard on screen.
- JavaScript
- Python
- Ruby
const jwt = require('jsonwebtoken');

const embedCode = '275XXXXXXXXX';   // from Step 1
const secretKey = '382fXXXXXXXX';   // from Step 1

const payload = {
  settings: {
    dashboard_autorun_on_changes: false,
  },
  permissions: {
    row_based: [],
  },
  filters: {},
  exp: Math.floor(Date.now() / 1000) + 24 * 60 * 60,  // expires in 24 hours
};

const token = jwt.sign(payload, secretKey, { algorithm: 'HS256' });
import jwt
import time

embed_code = '275XXXXXXXXX'   # from Step 1
secret_key = '382fXXXXXXXX'   # from Step 1

payload = {
    'settings': {
        'dashboard_autorun_on_changes': False,
    },
    'permissions': {
        'row_based': [],
    },
    'filters': {},
    'exp': int(time.time()) + 24 * 60 * 60,  # expires in 24 hours
}

token = jwt.encode(payload, secret_key, algorithm='HS256')
require 'jwt'

embed_code = '275XXXXXXXXX'   # from Step 1
secret_key = '382fXXXXXXXX'   # from Step 1

payload = {
  settings: {
    dashboard_autorun_on_changes: false,
  },
  permissions: {
    row_based: [],
  },
  filters: {},
  exp: Time.now.to_i + 24 * 60 * 60,  # expires in 24 hours
}

token = JWT.encode(payload, secret_key, 'HS256')
Step 3: Add the iframe (frontend)
Drop this iframe into your HTML, substituting the embed_code, token, and region domain from your backend:
<iframe
  src="https://{region_domain}.holistics.io/embed/EMBED_CODE?_token=TOKEN"
  style="width: 100%; height: 600px;"
  frameborder="0"
  allowfullscreen>
</iframe>
Replace {region_domain} with secure, us, or eu. If you use a custom domain, replace the full {region_domain}.holistics.io host with your custom domain.
Your dashboard should now render inside your app.
Configure the embed
Once the dashboard is on screen, these pages cover what you can tune in the payload:
- Basic Settings: export, timezone, header visibility, and filter defaults
- Permission Settings: row-level permissions that restrict data per user
- Drill-Through: let users click into related dashboards
Moving to the new embed payload
Nothing forces you to migrate. If you want the newer capabilities, switch from the per-dashboard embed code and secret to your shared embed credentials, then move the dashboard into objects.dashboards in the payload. The migration guide walks through the switch step by step, and the Embed payload reference documents the full shape.
Need help? Check our FAQs or contact support for assistance with your implementation.