Getting Started with Holistics API
This guide walks you through setting up API access and making your first API call. By the end, you'll have a working example that retrieves your user information.
Prerequisites
- A Holistics account with admin access (to enable API access for users)
- Basic familiarity with making HTTP requests (curl, Postman, or any programming language)
Step 1: Enable API Access
Before a user can use the API, an admin must grant them API access.
- Go to Settings > User Management
- Edit the user who needs API access
- Check the Allow API access checkbox
- Save changes
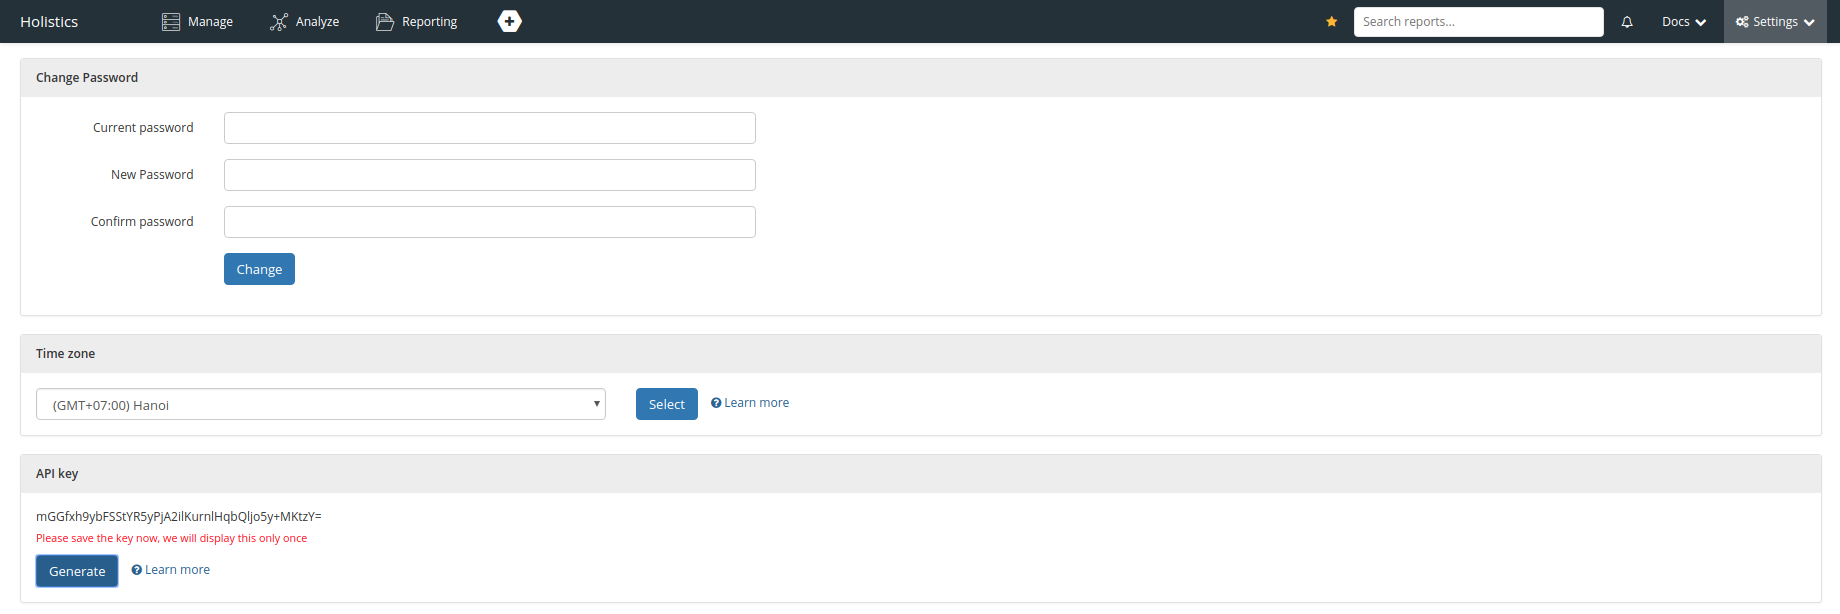
Step 2: Generate Your API Key
Once API access is enabled, generate your personal API key:
- Go to User Settings
- Scroll to the API Keys section
- Click Generate New Key
- Copy and securely store your API key
Your API key grants full access to your Holistics account. Never share it publicly or commit it to version control.
Step 3: Find Your API Base URL
Holistics has multiple data center regions. Use the base URL that matches your region:
| Region | API Base URL |
|---|---|
| Asia-Pacific (APAC) | https://secure.holistics.io/api/v2 |
| Europe (EU) | https://eu.holistics.io/api/v2 |
| United States (US) | https://us.holistics.io/api/v2 |
Check the URL when you log into Holistics:
secure.holistics.io→ APACeu.holistics.io→ EUus.holistics.io→ US
Step 4: Make Your First API Call
Let's verify everything works by fetching your user information:
curl -X GET \
  -H "Accept: application/json" \
  -H "Content-Type: application/json" \
  -H "X-Holistics-Key: YOUR_API_KEY" \
  https://secure.holistics.io/api/v2/users/me
Replace YOUR_API_KEY with your actual API key and adjust the base URL for your region.
A successful response looks like:
{
"user": {
"id": 12345,
"name": "Your Name",
...
}
}
Understanding Async Jobs
Many Holistics API operations (exports, schedule executions, etc.) run asynchronously. Instead of returning results immediately, these endpoints return a job ID that you poll until completion.
The typical pattern is:
- Submit a request → Returns a
job_id - Poll the job status → Check
/jobs/{job_id}until status issuccessorfailure - Retrieve the result → Use the job ID to download results or get output
For example, exporting dashboard data works like this:
POST /dashboard_widgets/{id}/submit_export  →  { "job": { "id": 123 } }
GET  /jobs/123                              →  { "job": { "status": "success" } }
GET  /exports/download?job_id=123           →  CSV/Excel data
See the Export Widget Data tutorial for a complete working example.
Next Steps
Now that you're set up, explore these tutorials:
- Export Widget Data - Download dashboard data as CSV/Excel
- Create Email Schedules - Automate report delivery
- Create Data Alerts - Set up automated alerts
- Query Datasets - Run queries against your datasets
Or browse the API Reference for all available endpoints.