Embedded Analytics
Introduction
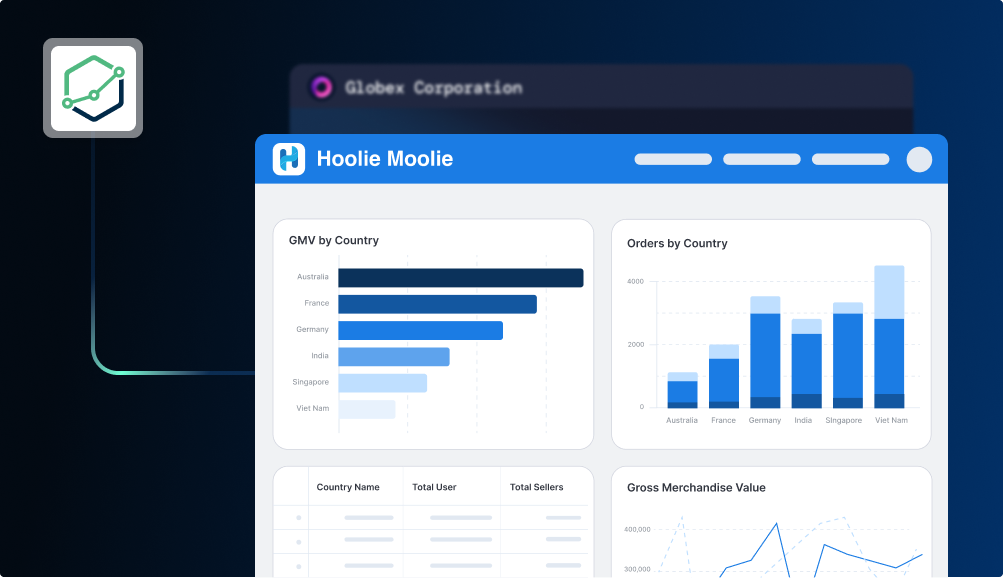
Embedded Analytics helps you integrate sophisticated data analytics directly into your applications, making analytics feel like a native part of your product rather than a separate tool.
Whether you're a B2B SaaS platform serving thousands of customers or an internal team needing targeted dashboards, Holistics embedded analytics provides the flexibility and power to deliver exactly the analytics experience your users need.
Key Benefits:
- No custom development required - Your engineers do not need to build a custom analytics dashboard from scratch
- Seamless user experience - Your viewers/users can access their app statistics from your app without logging into Holistics
- Secure data access - Prevent data leakage by ensuring viewers can only see data that you allow them to see
- Complete white-labeling - Remove Holistics' logo so you can keep your brand consistent in your applications
- Scalable architecture - Supports everything from single dashboard embeds to complete multi-tenant analytics platforms
What Makes Holistics Different
Multi-Tenancy
- Built-in user organization with strict data boundaries between different organizations
- Workspace isolation prevents cross-tenant data access
- No separate Holistics accounts needed - identify users through your app's existing user system
Self-Service
- Users can explore data, interact with visualizations, and create custom dashboards
- Dashboard builder embedded directly in your application
- Personal and shared workspaces for collaboration
Look & Feel Customization
- Remove Holistics' logo to keep your brand consistent
- White-label embedding with your domain and branding
- Customize appearance to match your application's design
Developer Friendly
- Define portals as code with Git integration and version control
- Intuitive sandbox UI for configuration and testing
- Preview environments to streamline development workflow
Two Approaches to Embedded Analytics
Holistics provides two distinct approaches to embedded analytics, each designed for different business objectives and user requirements:
🚀 Embed Portal (Beta)
Complete analytics platform for SaaS and customer-facing applications
Embed a mini BI application within your application where users can explore data, create dashboards, and collaborate with their teams. Think of it as embedding an entire BI application with full self-service capabilities.
→ Overview | → Getting Started | → Use Cases & Features
📊 Single Dashboard
Quick integration for targeted dashboard embedding
Targeted embedding of specific dashboards using secure iframes. Think of it as embedding individual views exactly where you need them in your existing workflows. Perfect for quick implementation and specific use cases.
→ Overview | → Getting Started | → Settings & Configuration
Key Differences
| Aspect | Single Dashboard | Embed Portal (Beta) |
|---|---|---|
| User Experience | Single dashboard view only | Multi-dashboard navigation with built-in UI |
| User Capabilities | View and filter only | View, filter, create, explore, and collaborate |
| Development Approach | Fast setup with minimal configuration | As-code approach following software development best practices |
| Best For | Static reporting without self-service requirements | Self-service analytics where users create their own dashboards |